Simple Cake Drawing: Your Easy Guide To Sketching Sweet Treats Today
Have you ever looked at a beautiful cake and wished you could capture its charm on paper? Maybe you want to create a fun birthday card or simply try a new art project. Drawing a cake, especially making it look simple to do, is something many people want to try. It can seem a bit tricky at first, with all those layers and decorations, but you know, it doesn't have to be a big challenge. This guide is here to show you how to get started, step by step, making cake drawing easy and enjoyable for everyone.
Whether you are just beginning your art journey or you just want a quick, fun sketch, learning to draw cakes can be a really satisfying thing. It's a way to bring those sweet, delightful treats to life without needing a lot of special tools or a ton of art experience. We will look at some straightforward approaches that help you create lovely cake pictures in no time at all, so you can feel good about what you make.
So, get ready to pick up your pencil and paper. We are going to explore how to sketch cakes that look good enough to eat, from a simple round shape to one with fluffy frosting. You will find that making a cake drawing easy is pretty much about breaking it down into small, manageable parts. It's actually quite fun to see your drawing come together, and you might even surprise yourself with what you can create today, you know?
Table of Contents
- Why Draw Cakes?
- Getting Started: Your Drawing Kit
- Basic Shapes for Cake Drawing
- Adding Details: Frosting and Decorations
- Different Cake Styles to Try
- Making Your Cake Look Moist and Delicious
- Tips for Easy Cake Drawing
- Common Questions About Drawing Cakes
- Ready to Draw?
Why Draw Cakes?
Drawing cakes can be a really enjoyable activity for several reasons, actually. For one thing, it lets you express your creative side without a lot of pressure. Cakes come in so many shapes and have so many decorations, giving you endless ideas for what to sketch. It's a nice way to relax and focus on something pleasant, too. Plus, you can make them look just like the real thing, or you can invent your own wild designs.
For those who love baking, drawing cakes is a pretty natural extension of that interest. You might find yourself inspired by a moist cake topped with swooshes of sweet fluffy vanilla buttercream icing, or a really good chocolate cake you once had. Sketching these treats helps you pay closer attention to their shapes and textures, which can even make you appreciate the real cakes more. It's a simple joy, you know, to draw something sweet.
Also, learning to make a cake drawing easy can build your general drawing skills. You practice drawing basic shapes, adding details, and creating a sense of depth. These are useful skills for drawing other things as well. It’s kind of like learning a new recipe; once you get the basics down, you can start to experiment and make it your own. So, it's not just about cakes, it's about growing your artistic abilities, more or less.
Getting Started: Your Drawing Kit
You don't need a lot of fancy supplies to start drawing cakes. A few basic items are pretty much all you need to begin your journey into cake drawing easy. This keeps things simple and lets you focus on the drawing itself, rather than worrying about having the right tools. Most of these things you might already have around your house, which is nice.
First off, you will want some paper. Any plain white paper will do, like printer paper or a sketch pad. It's good to have a few sheets so you don't feel bad about making mistakes; you can just try again. Then, you will need a pencil. A regular graphite pencil, like a HB or a 2B, is perfect for sketching. It lets you draw light lines that you can erase later, and also darker lines for your final outline. That's pretty much it for the main things.
An eraser is also a very helpful friend when you are learning to draw. A soft, white eraser works well because it won't smudge your paper too much. And if you want to add some color, you could use colored pencils, crayons, or markers. These can really make your cake drawings pop and give them that delicious look. But for just getting the shapes down, pencil and paper are completely fine, you know?
Basic Shapes for Cake Drawing
The secret to making a cake drawing easy is to start with very basic shapes. Every cake, no matter how detailed, begins with simple forms like circles, squares, or rectangles. Once you get these initial shapes right, adding the layers and decorations becomes a lot simpler. It's kind of like building with blocks; you need a solid base first.
Think about the cake you want to draw. Is it a tall, round birthday cake? Or maybe a flat, square sheet cake? Perhaps just a single slice? Each of these starts with a fundamental shape. Drawing lightly at first is a really good idea, so you can adjust your lines easily if they are not quite right. This initial sketch is just a guide, after all.
So, grab your pencil and paper, and let's look at how to get those foundational shapes down. It's the most important step for any cake drawing, honestly. You'll see how quickly a simple shape can turn into something that looks like a cake, pretty much.
Round Cakes
To draw a round cake, you start with an oval shape for the top. This oval will give the appearance of a circle seen from a slight angle. Then, you draw two lines going straight down from the sides of that oval. These lines should be parallel, meaning they stay the same distance apart. This creates the sides of your cake, you know?
After that, connect the bottom of those two lines with another curved line, similar to the first oval but slightly flatter. This forms the base of your cake. If you want multiple layers, just repeat this process, drawing smaller ovals and lines stacked on top of each other. Make sure each layer is a bit smaller than the one below it, which makes it look more realistic, pretty much.
Remember to keep your lines light at first. You can always go over them later with a darker touch once you are happy with the overall shape. This method really helps make drawing round cakes a very simple process, allowing you to adjust things as you go. It's basically about seeing the cake as a stack of oval cylinders.
Square Cakes
Drawing a square cake is a bit different, but still very straightforward. You begin by drawing a square for the top surface. Then, from each corner of that square, draw lines going downwards and slightly to the side. These lines should all be the same length and go in the same general direction, so they look parallel.
Next, connect the ends of these downward lines with other straight lines, forming the bottom square of your cake. This creates a three-dimensional box shape, which is the base of your square cake. If you are making a sheet cake, this might be all you need for the main body.
For a layered square cake, you just stack more of these box shapes on top of each other, making each upper layer a little smaller than the one below. It’s like drawing a series of slightly receding cubes. This method makes drawing square cakes quite simple, letting you get the basic form down with ease, you know?
Cake Slices
A cake slice is a fun thing to draw, and it's surprisingly simple. Start with a triangle shape for the main body of the slice. This triangle will represent the front face of the cake slice. Then, from the top point and the bottom two points of your triangle, draw lines going backwards and slightly upwards, sort of like you're drawing a wedge.
Connect the ends of these backward lines to form the back of the slice. You will also want to add a curved line for the top crust of the cake where it was cut from the main cake. Inside the slice, you can draw horizontal lines to show the different layers of sponge and frosting. This really helps it look like a piece cut from a bigger cake, you know?
Adding those internal layers is key to making it look like a proper slice. You can show a delicious white frosting, similar to that found in a red velvet cake, or maybe some chocolate layers. It's a pretty satisfying way to draw a cake, letting you focus on the inside details, more or less.
Adding Details: Frosting and Decorations
Once you have the basic shape of your cake down, it's time to add the fun stuff: the frosting and decorations. This is where your cake really starts to look like a tasty treat. Adding these details doesn't have to be hard; in fact, there are some pretty easy ways to make them look good. It's kind of like putting the finishing touches on a real cake, you know?
Think about the kind of cake you are drawing. Is it covered in smooth, classic icing, or does it have big, fluffy swirls? Maybe it's a birthday cake with candles and sprinkles? Each type of decoration adds its own charm and personality to your drawing. And the good news is, you can achieve these looks with simple lines and shapes, pretty much.
So, let's look at how to add these yummy details to your cake drawing, making it look as appealing as a moist cake or a decadent one. It's about making your drawing look inviting, after all.
Fluffy Frosting Swirls
For fluffy frosting swirls, like the sweet fluffy vanilla buttercream icing mentioned in "My text," you don't need to draw every single tiny detail. Instead, think about the overall shape of the swirl. You can use wavy, soft lines to create the look of peaks and valleys. Imagine piping icing onto a cake; it often forms these lovely, organic shapes.
Start by drawing a slightly uneven, wavy line around the top edge of your cake. Then, add more wavy lines within that boundary, overlapping them a bit. This creates the impression of depth and volume, making the frosting look light and airy. It's basically about drawing a series of gentle curves that suggest movement, you know?
You can also add a few short, curved lines on the sides of the cake to show frosting drips or little dollops. This gives it a very homemade and appealing look. It's a simple way to suggest that lovely, soft texture without getting too caught up in tiny details, which is pretty helpful for keeping your cake drawing easy.
Classic Icing Layers
For classic icing layers, like the kind that forms a sandwich with a delicious white frosting, similar to that found in a red velvet cake, you will want to draw smooth, even lines. If your cake has multiple layers, draw a thin, slightly curved line between each sponge layer to represent the frosting. These lines should follow the curve of your cake's shape.
For the top and sides, you can draw a smooth, continuous outline for the icing. If you want to show a thicker layer, just draw two parallel lines very close together. This gives the impression of a generous coating. It's about neatness and consistency, which makes the cake look very polished, you know?
You can also add a very subtle texture by drawing tiny, very light dots or short, fine lines on the surface of the icing. This suggests a slight roughness or the way light might catch the surface. It’s a pretty simple way to make your icing look more real, giving it a bit more character, more or less.
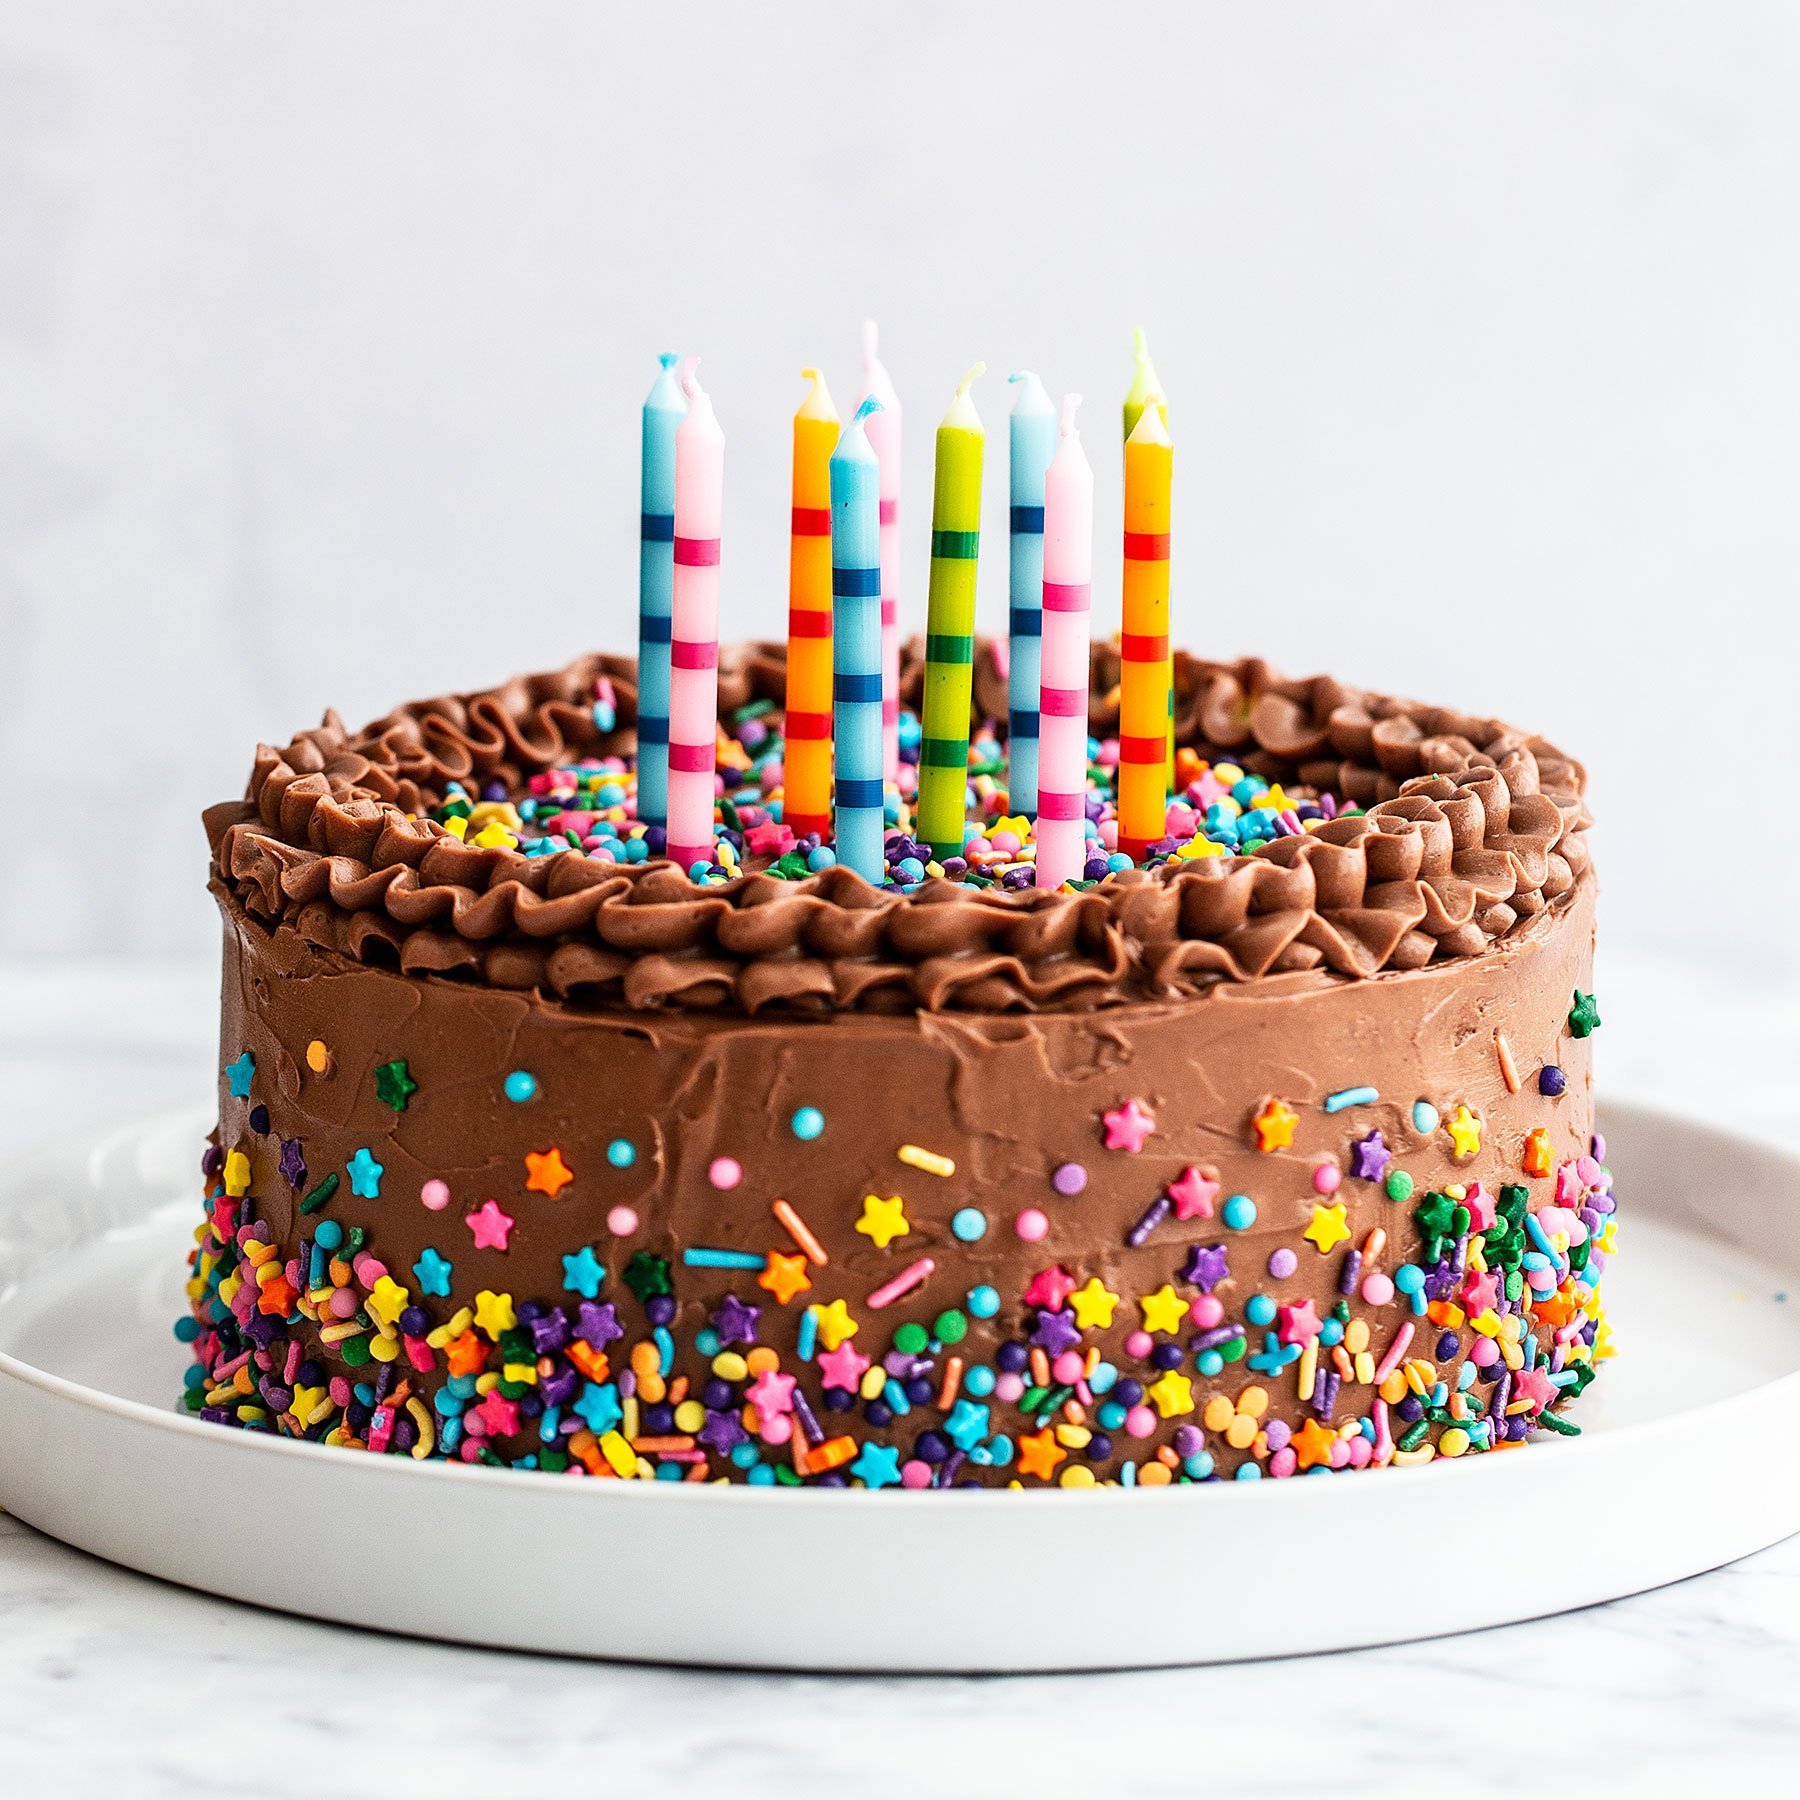
Candles and Sprinkles
Candles are a must for a birthday cake drawing. To draw a candle, just make a thin rectangle shape. Then, add a tiny flame at the top. The flame can be a small, tear-drop shape. You can draw several candles, making them different heights for a more playful look. It’s pretty straightforward, you know?
For sprinkles, you can use tiny dots, very short lines, or tiny dashes scattered randomly over the cake and frosting. Don't try to make them all perfectly even; variety makes them look more natural. Some can be round, some long, some tiny. This randomness adds to the charm of your cake drawing, honestly.
If you are coloring your drawing, using different bright colors for the sprinkles can really make them pop. This simple addition brings a lot of life and celebration to your cake sketch. It’s a very effective way to add a bit of fun without much effort, making your cake drawing easy to decorate.
Fruit and Other Toppings
Adding fruit or other toppings can make your cake drawing look even more appealing. For instance, if you want to draw berries, just sketch small circles or oval shapes. You can add tiny dots for seeds or little stems if you like. A few simple shapes can suggest a whole cluster of fruit, you know?
Chocolate shavings or curls can be drawn with irregular, curved lines that overlap slightly. Think about how chocolate breaks or curls when shaved; it's not perfectly uniform. These organic shapes add a lot of visual interest to your cake. It's a pretty good way to show texture.
You could also add things like chocolate chips, which are just small, irregular oval shapes, or nuts, which can be drawn as bumpy, uneven forms. These small additions can really elevate your cake drawing and make it look truly decadent, moist, and guaranteed to impress. It’s about suggesting details rather than drawing every single bit, which helps keep your cake drawing easy.
Different Cake Styles to Try
Cakes come in a huge variety of styles, and each one offers a fun challenge for drawing. Once you are comfortable with the basic shapes and adding frosting, you can start exploring different cake types. This helps you expand your drawing skills and keeps things interesting. It's kind of like trying out new recipes; there's always something new to learn, you know?
From classic chocolate cakes to colorful birthday creations, each style has its own unique features that you can focus on. You can even try drawing smaller treats like cupcakes or cake pops. Thinking about these different styles can give you lots of ideas for your next drawing project, pretty much.
So, let's look at how you can adapt your basic cake drawing skills to capture the essence of various popular cake types. It's about bringing out the character of each dessert, after all.
Chocolate Cake Sketches
When drawing a chocolate cake, like "Ree's best chocolate sheet cake," you will want to focus on suggesting that rich, dark color and maybe a slightly dense texture. Start with your basic cake shape, whether it's round or square. For the frosting, you can draw it a bit thicker or with a slightly rougher texture to suggest a rich ganache or a thick chocolate buttercream.
If it's a chocolate sheet cake, remember it might be flatter and wider than a tall layer cake. You can also add little chocolate chips or shavings on top, as we talked about earlier. These small details really help convey the chocolate aspect. It's about hinting at the flavor through visual cues, you know?
For the sponge itself, if you are drawing a slice, you can use a slightly darker shade or add very subtle, irregular lines to suggest the crumb. This helps make the chocolate cake look truly good, giving it a very satisfying appearance, more or less.
Vanilla and Red Velvet Looks
For vanilla cakes, you might want to emphasize the light, fluffy frosting. A moist cake topped with swooshes of sweet fluffy vanilla buttercream icing is an absolute classic. So, focus on those soft, flowing lines for the frosting. The cake itself would be a lighter color, of course, if you are adding color.
Red velvet cake is interesting because it often features a delicious white frosting, similar to that found in a red velvet. When drawing a slice, you would show the distinct red layers of the sponge contrasting with the white frosting. This color contrast is a key part of its appeal. You can use light lines to suggest the texture of the sponge, you know?
For both vanilla and red velvet, the frosting often has a smooth, creamy look. So, keep your frosting lines clean and flowing. You can also add a few small crumbs or sprinkles to the top for a bit of extra visual interest. It's a pretty way to show off those classic cake styles.
Cupcakes and Cake Pops
Cupcakes are like mini cakes, and they are pretty fun to draw. Start with a U-shape for the cupcake liner, then draw a slightly domed top for the cake part. On top of that, add a big, swirly mound for the frosting. You can make the frosting look like a soft serve ice cream swirl, which is a very popular style, you know?
For cake pops, which are very versatile, you draw a simple circle for the cake ball. Then, add a stick coming out from the bottom. The fun part is the decoration. You can draw a simple drizzle of icing over the top, or add tiny sprinkles. This easy cake pop recipe can be customized with different flavors and decorations, and the drawing can reflect that too.
You can use your imagination to make chocolate cake pops, Christmas cake pops, or anything else. The simple shapes make these treats very easy to sketch, allowing for a lot of creative freedom with the toppings. It's basically about drawing a sphere on a stick, then adding your favorite details, pretty much.
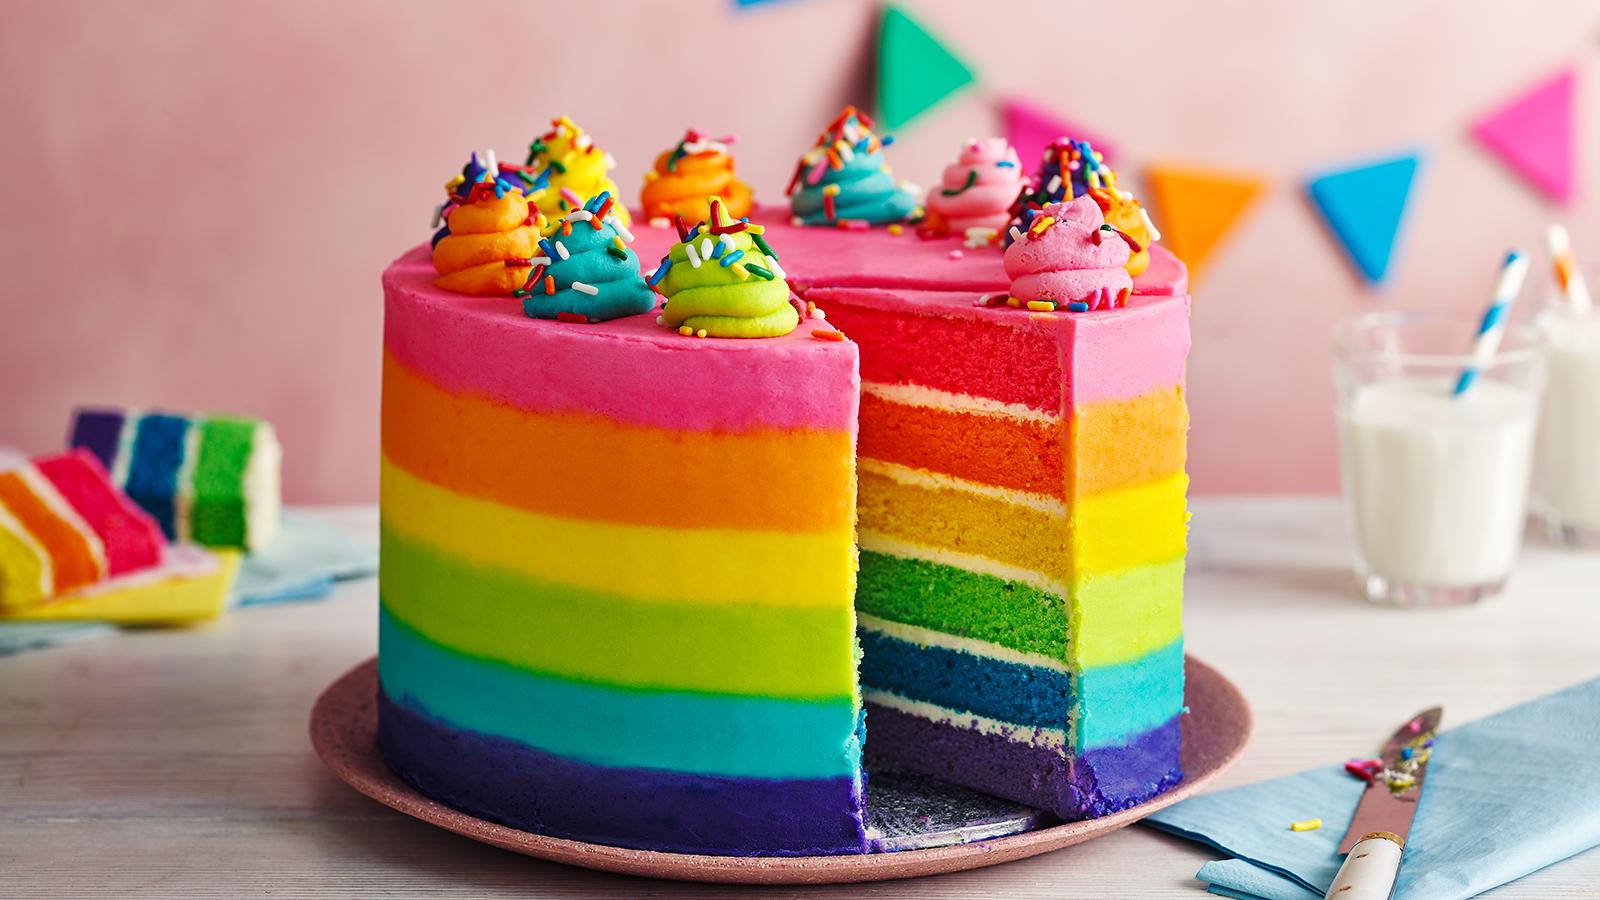
Tall Layered Cakes
Drawing tall layered cakes, like those perfect for any birthday party with their tall layers and fluffy frosting, involves stacking your basic cake shapes. Start with your bottom layer, then draw another, slightly smaller layer directly on top, and so on. Make sure the sides of each layer are parallel, and the frosting between layers is visible.
The height is the key here. You want to make sure your cake looks impressive and grand. For the frosting, you can draw it flowing down the sides a bit, or add distinct lines to show each layer of frosting. This gives the cake a very grand and celebratory look, you know?
You can also add decorations like ribbons or flowers around the base of each layer to enhance the look. These cakes are meant to impress, and your drawing can reflect that sense of occasion. It’s a pretty good way to practice drawing complex structures from simple parts, making your cake drawing easy to build up.
Making Your Cake Look Moist and Delicious
Making your cake drawing look moist and delicious is about more than just the outline; it’s about suggesting texture and richness. A moist cake is often described as decadent and guaranteed to impress, and you can convey this feeling in your drawing. It’s not about drawing water, but about implying a certain richness and softness.
One way to suggest moisture is through shading. If you are using a pencil, you can add very light, smooth shading to the cake layers, especially if you're drawing a slice. This can give the impression of a soft, tender crumb. For chocolate cakes, a slightly darker, even shading can hint at their richness, you know?
Consider the "espresso mixture slowly over the cake, letting the liquid fill the holes and soak into the cake." While you can't draw the liquid soaking, you can suggest it by drawing very subtle, darker areas within the cake layers, as if they are saturated. For cakes infused with instant coffee powder, you might use a slightly darker, warmer tone if you are coloring, to hint at that coffee infusion. This is a pretty clever way to suggest flavor and texture.
Also, think about how light hits the cake. A slight sheen on the frosting can make it look smooth and creamy. You can achieve this by leaving a small, unshaded area or by using a very light touch with your pencil. Using a blend of butter and oil for a cake makes it light but moist, and you can try to capture that delicate balance in your drawing by keeping your lines soft and your shading gentle. It’s basically about making the cake look inviting, more or less.
Tips for Easy Cake Drawing
To truly make cake drawing easy and enjoyable, there are a few simple tips that can help you along the way. These are not strict rules, but rather helpful suggestions to guide your hand and boost your confidence. Drawing should be a relaxing activity, after all, not a source of frustration, you know?
Remember that every artist starts somewhere, and practice is key. Don't worry about making your first drawing perfect. The goal is to have fun and get better with each attempt. These tips are here to support you in that journey, pretty much.
So, let's go over some practical advice that can make your cake drawing experience much smoother and more rewarding. It's about building good habits and enjoying the process.
Starting Simple
When you begin, don't try to draw the most elaborate, multi-tiered wedding cake right away. Start with something very simple, like a single round cake or a basic cupcake. Master those fundamental shapes and frosting techniques first. This builds a strong foundation for more complex drawings later on, you know?
A simple cake with just a few sprinkles or a single candle is a great starting point. Focus on getting the basic proportions right and making the shape look solid. Once you feel comfortable with that, you can gradually add more details and layers. It’

Detail Author 👤:
- Name : Kaci Konopelski
- Username : mitchell75
- Email : mante.elmira@bartoletti.biz
- Birthdate : 1984-12-05
- Address : 867 Walker Station Apt. 911 Langchester, MT 03977
- Phone : 1-360-335-3099
- Company : Nikolaus and Sons
- Job : Refinery Operator
- Bio : Itaque sed temporibus necessitatibus. Eos omnis aliquid reprehenderit porro quia occaecati laboriosam. Vel nihil et nam sed veniam reprehenderit voluptatibus laboriosam.
Socials 🌐
linkedin:
- url : https://linkedin.com/in/sydnie_official
- username : sydnie_official
- bio : Quibusdam dicta sit provident est et.
- followers : 1294
- following : 2761
tiktok:
- url : https://tiktok.com/@sydnierohan
- username : sydnierohan
- bio : Exercitationem aspernatur voluptatum quia necessitatibus eum et omnis eligendi.
- followers : 2856
- following : 1500
